Clash is a versatile, open-source proxy client that enables users to route network traffic flexibly and securely. Deploying Clash within a Docker container offers the advantages of portability, easy management, and consistent environments across different systems.
This detailed guide walks you through setting up Clash on Docker, including configuration essentials, proxy settings, and best practices for efficient operation.

What is Clash and Why Use Docker?
Clash supports multiple proxy protocols such as HTTP, SOCKS5, Shadowsocks, and Trojan, allowing fine-grained control over how your network traffic is routed. It supports advanced routing rules, DNS customization, and TUN mode for system-wide proxying.
Using Docker to run Clash simplifies deployment by encapsulating the application and its dependencies, making it easier to manage, update, and isolate from the host system. Docker containers also facilitate running Clash on different architectures (x86, ARM) and environments consistently.
Step 1: Prerequisites
-
Docker Installed: Ensure Docker Engine is installed and running on your machine.
-
Basic Docker Knowledge: Familiarity with Docker commands and
docker-composeis helpful. -
Clash Configuration File (
config.yaml): This file defines your proxy servers, routing rules, and DNS settings. You can create or customize it based on your proxy subscription or network requirements.
Step 2: Obtain or Create Your Clash Configuration
Your config.yaml is the core of Clash’s functionality. Key aspects include:
-
Proxy Definitions: Specify proxy servers with protocols like Shadowsocks, HTTP, or SOCKS5.
-
Routing Rules: Define how traffic is routed based on domain, IP, or application.
-
DNS Settings: Customize DNS servers to improve resolution speed and privacy.
-
TUN Mode: Optional for routing all traffic, including apps without proxy support.
You can start with a sample config from the Clash wiki or your proxy provider and modify it to your needs.
Step 3: Choose a Clash Docker Image
The official Clash image is maintained at ghcr.io/dreamacro/clash. It supports mounting your configuration file and exposing necessary proxy ports. Alternatively, community images like wuniu/clash-docker support additional features such as automatic subscription updates.
Step 4: Prepare Your Docker Environment
Create a directory on your host machine to hold the Clash config:
mkdir -p ~/.config/clash
Place your config.yaml inside this directory.
Step 5: Create a docker-compose.yaml File
Using Docker Compose simplifies container management. Here is an example docker-compose.yaml:
version: "3"

services:

clash:

image: ghcr.io/dreamacro/clash

container_name: clash

restart: always

volumes:

- ~/.config/clash:/root/.config/clash:ro

ports:

- "7890:7890"   # HTTP proxy port

- "7891:7891"   # SOCKS5 proxy port

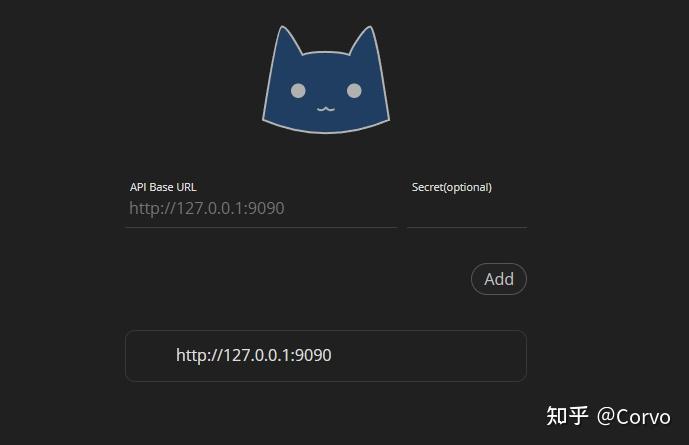
- "9090:9090"   # REST API port (optional)

network_mode: bridge
-
The config directory is mounted read-only to prevent accidental changes.
-
Ports 7890 and 7891 are standard for HTTP and SOCKS5 proxies.
-
Port 9090 exposes Clash’s REST API if enabled in your config.
Step 6: Run the Clash Container
Start Clash with Docker Compose:
docker-compose up -d
This command downloads the image if needed and runs Clash in the background.
Step 7: Verify Clash is Running
Check container logs to ensure Clash started correctly:
docker-compose logs -f clash
Look for messages indicating successful proxy initialization and rule loading.
Step 8: Configure Your System or Applications to Use Clash Proxy
Set your system or application proxy settings to:
-
HTTP Proxy:
http://localhost:7890 -
SOCKS5 Proxy:
socks5://localhost:7891
This routes traffic through Clash running inside Docker.
Advanced Configuration and Tips
Proxy Environment Variables in Docker
If your Docker host or containers access the internet through a corporate proxy, configure Docker daemon and client proxy settings accordingly. Proxy environment variables (HTTP_PROXY, HTTPS_PROXY, NO_PROXY) can be set in Docker’s ~/.docker/config.json or passed as environment variables during container runs.
Using Subscription Links and Auto-Updates
Some community images support automatic fetching and updating of proxy rules from subscription URLs (e.g., for Shadowsocks or Trojan proxies). For example:
docker run -e SUB_URL="your_subscription_link" -p 7890:7890 -v ~/.config/clash:/configs wuniu/clash-docker
This automates rule updates and config generation.
TUN Mode and System-Wide Proxying
Clash’s TUN mode captures all network traffic, including apps without proxy support. However, running TUN mode inside Docker requires additional privileges and kernel support, which may be limited on some platforms (e.g., macOS).
Troubleshooting and Best Practices
-
Time Synchronization: Ensure your host system time is accurate to avoid SSL certificate errors.
-
Network Mode: Use
bridgemode for port mapping;hostmode may be required for advanced networking but is less portable. -
Configuration Changes: Modify
config.yamlon the host and restart the container to apply changes. -
Security: Avoid exposing proxy ports publicly without authentication or firewall rules.
-
Resource Limits: Monitor container CPU and memory usage to maintain performance.
Conclusion
Deploying Clash on Docker is an efficient way to leverage powerful proxy capabilities with the benefits of containerization. By following this guide, you can set up a robust, flexible proxy environment that supports multiple protocols, advanced routing, and easy management. Whether for personal privacy, bypassing restrictions, or optimizing network traffic, Clash on Docker provides a scalable solution adaptable to many scenarios.
